坚持认真做一件事 时间看得见

 找回密码
 立即注册
搜索
热搜: 活动 交友 discuz
12
返回列表 发新帖
楼主: WEicool

使用 npm安装Ant Design of Vue时报错:error code ERR_SOCKET_TIMEOUT

[复制链接]

41

主题

64

帖子

268

积分

管理员

Rank: 9Rank: 9Rank: 9

积分
268
 楼主| 发表于 2022-5-24 17:04:02 | 显示全部楼层
Node.js 包运行器 npx
无需安装的命令执行
npx 的另一个重要的特性是,无需先安装命令即可运行命令。

这非常有用,主要是因为:

不需要安装任何东西。
可以使用 @version 语法运行同一命令的不同版本。
使用 npx 的一个典型演示是使用 cowsay 命令。 cowsay 会打印一头母牛,并在命令中说出你写的内容。 例如:

cowsay "你好" 会打印:
  1. _______
  2. < 你好 >
  3. -------
  4.         \   ^__^
  5.          \  (oo)\_______
  6.             (__)\       )\/\
  7.                 ||----w |
  8.                 ||     ||
复制代码

只有之前已从 npm 全局安装了 cowsay 命令,才可以这样做,否则,当尝试运行该命令时会获得错误。

npx 可以运行该 npm 命令,而无需在本地安装:
  1. C:\Users\bruce>npx cowsay "你好"
  2. Need to install the following packages:
  3.   cowsay
  4. Ok to proceed? (y) y
  5. ______
  6. < 你好 >
  7. ------
  8.         \   ^__^
  9.          \  (oo)\_______
  10.             (__)\       )\/\
  11.                 ||----w |
  12.                 ||     ||
复制代码

这是一个有趣但无用的命令。 其他场景有:

运行 vue CLI 工具以创建新的应用程序并运行它们:npx @vue/cli create my-vue-app。
使用 create-react-app 创建新的 React 应用:npx create-react-app my-react-app。
还有更多其他的场景。

当被下载完,则下载的代码会被擦除。
回复

使用道具 举报

41

主题

64

帖子

268

积分

管理员

Rank: 9Rank: 9Rank: 9

积分
268
 楼主| 发表于 2022-5-24 17:04:49 | 显示全部楼层
搭建 HTTP 服务器
这是一个简单的 HTTP web 服务器的示例:
  1. const http = require('http')

  2. const port = 3000

  3. const server = http.createServer((req, res) => {
  4.   res.statusCode = 200
  5.   res.setHeader('Content-Type', 'text/plain')
  6.   res.end('你好世界\n')
  7. })

  8. server.listen(port, () => {
  9.   console.log(`服务器运行在 http://${hostname}:${port}/`)
  10. })
复制代码
回复

使用道具 举报

41

主题

64

帖子

268

积分

管理员

Rank: 9Rank: 9Rank: 9

积分
268
 楼主| 发表于 2022-5-25 09:32:46 | 显示全部楼层
WEicool 发表于 2022-5-23 14:19
如果你安装的是旧版本的 npm,可以很容易得通过 npm 命令来升级,命令如下:

大家都知道国内直接使用npm的 ...

If you're in China, maybe you should install it from our China mirror:
  1. npm install cnpm -g --registry=https://registry.npmmirror.com
复制代码
回复

使用道具 举报

41

主题

64

帖子

268

积分

管理员

Rank: 9Rank: 9Rank: 9

积分
268
 楼主| 发表于 2022-5-25 16:20:12 | 显示全部楼层
问题描述:cnpm : 无法加载文件 C:\Users\Administrator\AppData\Roaming\npm\cnpm.ps1,因为在此系统上禁止运行脚本。
解决方案:
1、以管理员身份运行powershell
2、执行:get-ExecutionPolicy,显示Restricted,表示状态是禁止的
3、执行:set-ExecutionPolicy RemoteSigned
4、这时再执行get-ExecutionPolicy ,就显示RemoteSigned
5、重新执行cnpm命令
  1. PS C:\WINDOWS\system32> cnpm i yarn tyarn -g
  2. Downloading yarn to C:\Users\bruce\AppData\Roaming\npm\node_modules\yarn_tmp
  3. Copying C:\Users\bruce\AppData\Roaming\npm\node_modules\yarn_tmp\_yarn@1.22.18@yarn to C:\Users\bruce\AppData\Roaming\npm\node_modules\yarn
  4. Installing yarn's dependencies to C:\Users\bruce\AppData\Roaming\npm\node_modules\yarn/node_modules
  5. [npminstall:runscript] scripts.preinstall yarn@1.22.18  ":; (node ./preinstall.js > /dev/null 2>&1 || true)", root: "C:\\Users\\bruce\\AppData\\Roaming\\npm\\node_modules\\yarn"
  6. All packages installed (used 64ms(network 61ms), speed 0B/s, json 0(0B), tarball 0B, manifests cache hit 0, etag hit 0 / miss 0)
  7. [yarn@1.22.18] link C:\Users\bruce\AppData\Roaming\npm\yarn@ -> C:\Users\bruce\AppData\Roaming\npm\node_modules\yarn\bin\yarn.js
  8. [yarn@1.22.18] link C:\Users\bruce\AppData\Roaming\npm\yarnpkg@ -> C:\Users\bruce\AppData\Roaming\npm\node_modules\yarn\bin\yarn.js
  9. Downloading tyarn to C:\Users\bruce\AppData\Roaming\npm\node_modules\tyarn_tmp
  10. Copying C:\Users\bruce\AppData\Roaming\npm\node_modules\tyarn_tmp\_tyarn@0.3.8@tyarn to C:\Users\bruce\AppData\Roaming\npm\node_modules\tyarn
  11. Installing tyarn's dependencies to C:\Users\bruce\AppData\Roaming\npm\node_modules\tyarn/node_modules
  12. [1/3] binary-mirror-config@^1.34.0 installed at node_modules\_binary-mirror-config@1.41.0@binary-mirror-config
  13. [2/3] js-yaml@^4.1.0 installed at node_modules\_js-yaml@4.1.0@js-yaml
  14. [3/3] cross-spawn@^4.0.2 installed at node_modules\_cross-spawn@4.0.2@cross-spawn
  15. All packages installed (9 packages installed from npm registry, used 727ms(network 719ms), speed 353.04KB/s, json 9(82.16KB), tarball 171.68KB, manifests cache hit 0, etag hit 0 / miss 0)
  16. [tyarn@0.3.8] link C:\Users\bruce\AppData\Roaming\npm\tyarn@ -> C:\Users\bruce\AppData\Roaming\npm\node_modules\tyarn\lib\index.js
复制代码
回复

使用道具 举报

41

主题

64

帖子

268

积分

管理员

Rank: 9Rank: 9Rank: 9

积分
268
 楼主| 发表于 2022-5-25 16:29:12 | 显示全部楼层
Umi 是什么?[url=https://umijs.org/zh-CN/docs]https://umijs.org/zh-CN/docs[/url]
脚手架
先找个地方建个空目录。

$ mkdir myapp && cd myapp
通过官方工具创建项目,


$ yarn create @umijs/umi-app
# 或 npx @umijs/create-umi-app

  1. PS D:\Node.js\Ant Design Pro\myapp> tyarn create @umijs/umi-app
  2. yarn create v1.22.18
  3. [1/4] Resolving packages...
  4. [2/4] Fetching packages...
  5. [3/4] Linking dependencies...
  6. [4/4] Building fresh packages...
  7. success Installed "@umijs/create-umi-app@3.5.24" with binaries:
  8.       - create-umi-app
  9. Copy:  .editorconfig
  10. Write: .gitignore
  11. Copy:  .prettierignore
  12. Copy:  .prettierrc
  13. Write: .umirc.ts
  14. Copy:  mock/.gitkeep
  15. Write: package.json
  16. Copy:  README.md
  17. Copy:  src/pages/index.less
  18. Copy:  src/pages/index.tsx
  19. Copy:  tsconfig.json
  20. Copy:  typings.d.ts
  21. Done in 17.86s.
  22. info There appears to be trouble with your network connection. Retrying...
复制代码
安装依赖
$ yarn
PS D:\Node.js\Ant Design Pro\myapp> tyarn
yarn install v1.22.18
info No lockfile found.
[1/4] Resolving packages...
[2/4] Fetching packages...
[3/4] Linking dependencies...
[4/4] Building fresh packages...
success Saved lockfile.
$ umi generate tmp
Done in 206.22s.

启动项目
$ yarn start
  1. PS D:\Node.js\Ant Design Pro\myapp> tyarn start
  2. yarn run v1.22.18
  3. $ umi dev
  4. Starting the development server...

  5. √ Webpack
  6.   Compiled successfully in 11.91s

  7. DONE  Compiled successfully in 11914ms                                                                                                              16:36:53


  8.   App running at:
  9.   - Local:   http://localhost:8000 (copied to clipboard)
  10.   - Network: http://172.20.10.4:8000
复制代码
在浏览器里打开 http://localhost:8000/,能看到以下界面

修改配置
默认的脚手架内置了 @umijs/preset-react,包含布局、权限、国际化、dva、简易数据流等常用功能。比如想要 ant-design-pro 的布局,编辑 .umirc.ts 配置 layout: {},并且需要安装 @ant-design/pro-layout。
  1. import { defineConfig } from 'umi';

  2. export default defineConfig({
  3.   layout: {},
  4.   routes: [
  5.     { path: '/', component: '@/pages/index' },
  6.   ],
  7. });
复制代码
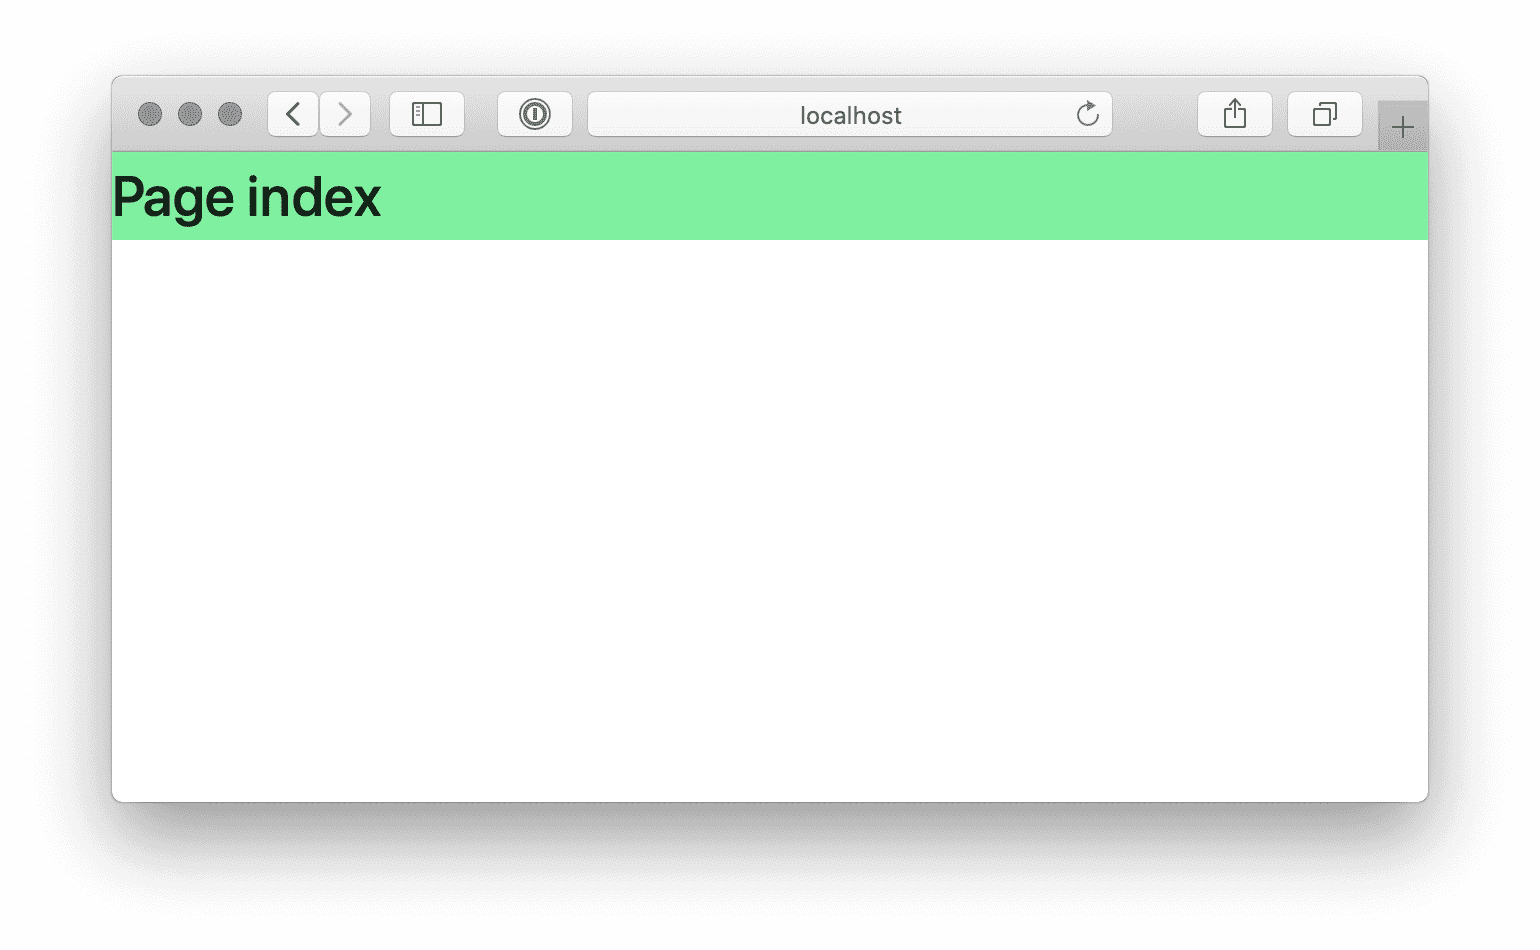
不用重启 yarn start,webpack 会在背后增量编译,过一会就可以看到以下界面
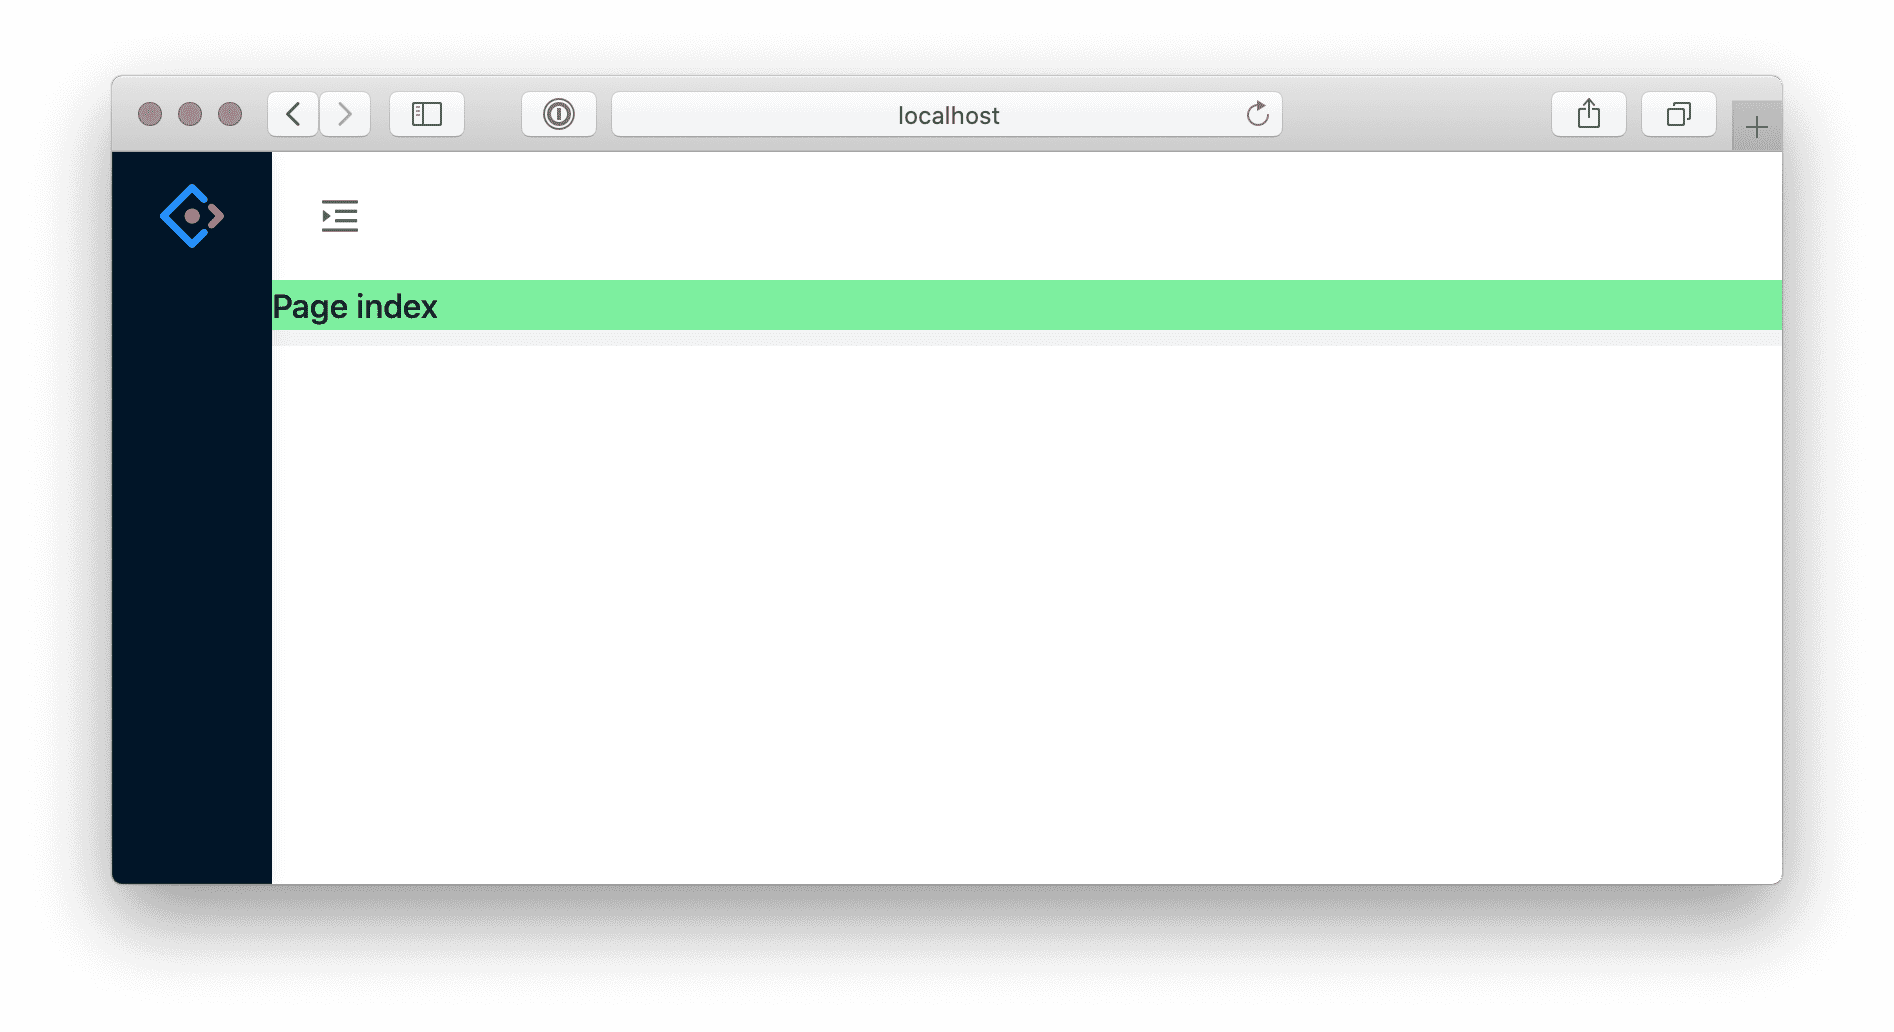
部署发布构建
  1. $ tyarn build

  2. yarn run v1.22.18
  3. $ umi build

  4. √ Webpack
  5.   Compiled successfully in 1.18m

  6. Browserslist: caniuse-lite is outdated. Please run:
  7. npx browserslist@latest --update-db

  8. Why you should do it regularly:
  9. https://github.com/browserslist/browserslist#browsers-data-updating
  10. DONE  Compiled successfully in 70664ms                                                                         17:03:50

  11. File              Size                        Gzipped

  12. dist\umi.js       937.3 KB                    302.4 KB
  13. dist\umi.css      167.2 KB                    21.3 KB

  14.   Images and other types of assets omitted.

  15. Done in 74.38s.
复制代码
构建产物默认生成到 ./dist 下,然后通过 tree 命令查看
  1. tree ./dist

  2. ./dist
  3. ├── index.html
  4. ├── umi.css
  5. └── umi.js
复制代码
本地验证
发布之前,可以通过 serve 做本地验证
  1. $ tyarn global add serve
  2. yarn global v1.22.18
  3. [1/4] Resolving packages...
  4. [2/4] Fetching packages...
  5. [3/4] Linking dependencies...
  6. [4/4] Building fresh packages...

  7. success Installed "serve@13.0.2" with binaries:
  8.       - serve
  9. Done in 3.79s.
复制代码
  1. $ C:\Users\bruce\AppData\Local\Yarn\bin\serve ./dist
复制代码


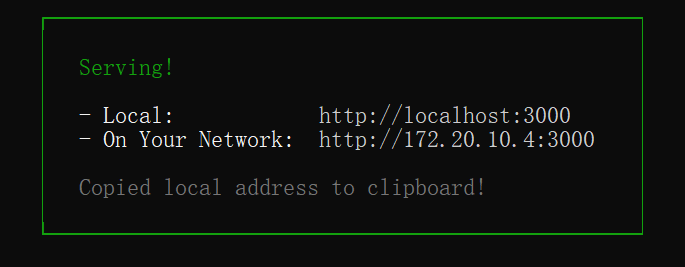
访问 http://localhost:3000,正常情况下应该是和执行 yarn start 时是一致的。部署
本地验证完,就可以部署了。你需要把 dist 目录部署到服务器上。

未完待续

回复

使用道具 举报

您需要登录后才可以回帖 登录 | 立即注册

本版积分规则

Archiver|手机版|小黑屋|坚持认真做一件事 时间看得见 ( 闽ICP备17010916号 )

GMT+8, 2026-5-3 01:38 , Processed in 0.056110 second(s), 16 queries .

Powered by Discuz! X3.4

© 2001-2017 Comsenz Inc.

快速回复 返回顶部 返回列表